


Wash Your Car the Right Way: 10 Steps to Protect Your Paint
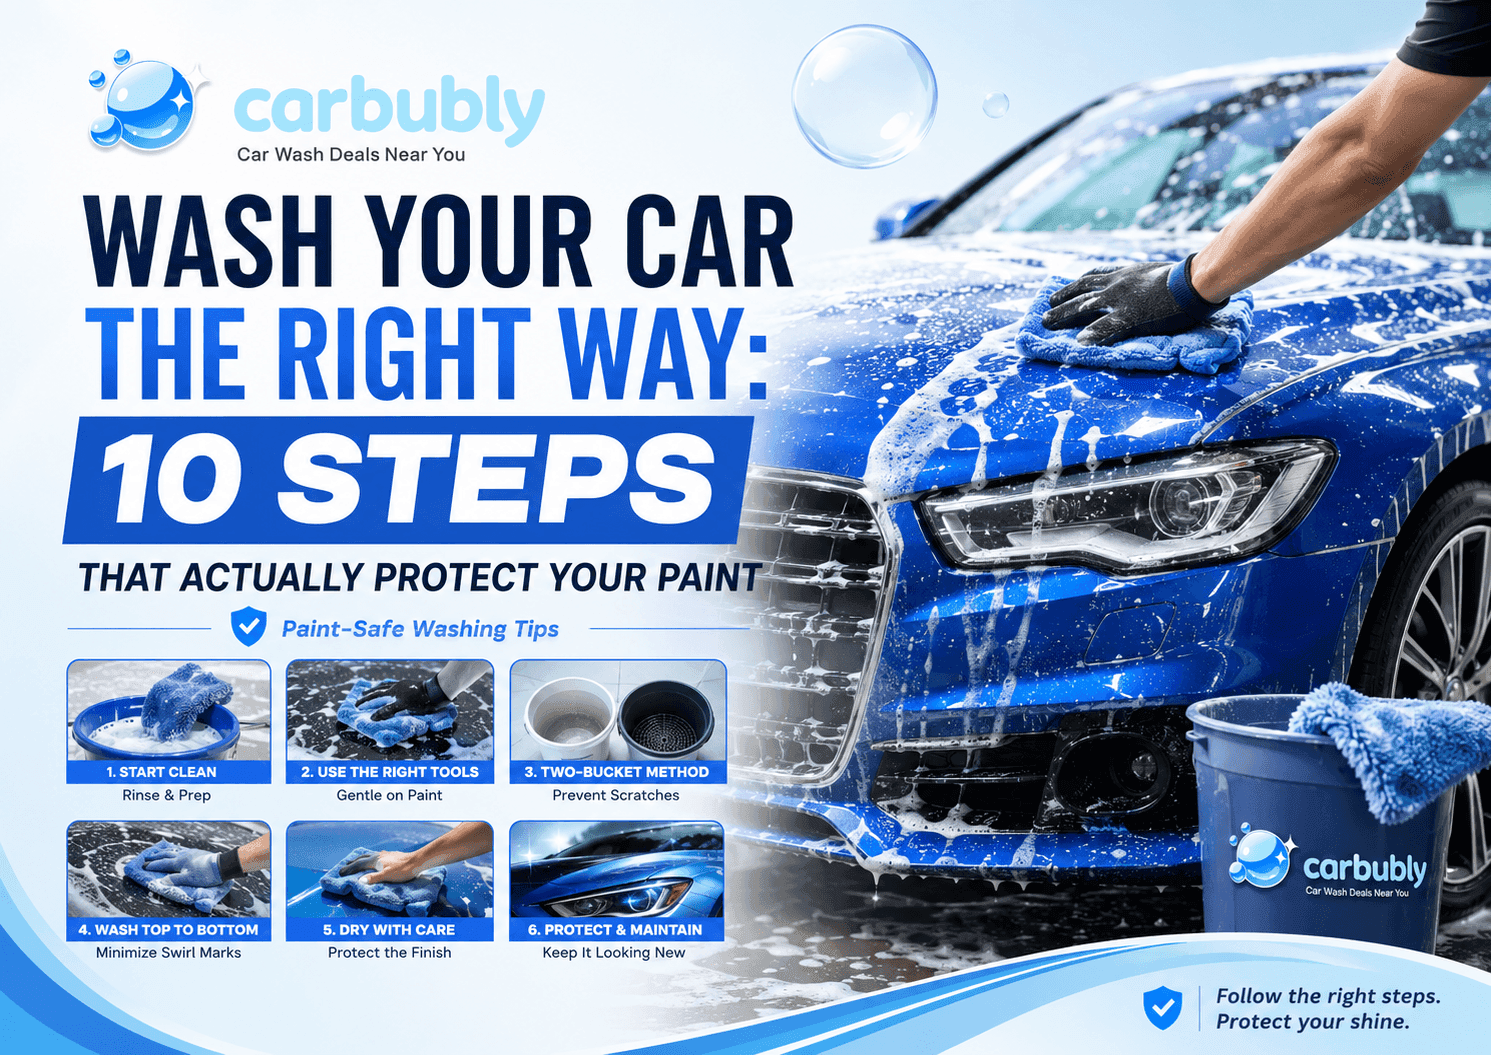
Washing your car seems simple, but doing it incorrectly can cause more damage than skipping it altogether. When you wash your car the right way through Carbubly, you protect the clear coat, prevent swirl marks, and preserve the resale value of your vehicle for years to come.
Key Takeaways
- Using the two-bucket method is one of the most effective ways to prevent swirl marks and micro-scratches during a wash.
- Washing your car in direct sunlight causes soap to dry too fast, leaving water spots and residue baked onto the paint.
- The order of washing matters: always start from the top and work downward to avoid dragging dirt back over clean panels.
- Wheels and tires should be cleaned first, before the paint, because they carry the most brake dust and grime.
- Microfiber towels and wash mitts are far less abrasive than sponges or old rags, making them the go-to tools for paint-safe drying.
- Professional services like hand car wash options are worth considering when you want expert-level results without the risk of DIY mistakes.
Why the Wrong Wash Technique Is Costing You
Most car owners do not realize that improper washing is one of the leading causes of paint damage. According to detailing industry data referenced by the International Detailing Association, swirl marks and clear coat scratches are most commonly introduced during routine washing, not road driving. That means the act you think is protecting your car could actually be degrading it.
Common mistakes include using dish soap (which strips protective wax), washing with a kitchen sponge (which traps grit against the paint), and drying with a bath towel (which drags abrasive fibers across your clear coat). The good news is that fixing your technique costs almost nothing. The difference is knowing the right process and sticking to it every single time.
The Equipment You Need Before You Start
You do not need expensive gear, but you do need the right gear. Here is what to gather before your first bucket of water touches the car:
- Two buckets: One for your clean soapy wash solution, one for rinsing your mitt. This prevents dirty water from going back onto the paint.
- pH-neutral car wash soap: Brands like Chemical Guys, Meguiar's, or Turtle Wax offer quality options ranging from $10 to $25 at most auto parts stores.
- Microfiber wash mitt: Much softer than a sponge and designed to lift dirt away rather than grind it in.
- Wheel brush and dedicated wheel cleaner: Brake dust is corrosive. Never use your paint mitt on the wheels.
- Microfiber drying towels: At least two large ones. The Mayo Clinic's research on skin irritation from abrasive materials gives insight into how friction causes surface damage, and the same physics applies to your car's clear coat with a touchless car wash.
Car wax or paint sealant (optional for this session, but recommended monthly).
Wash Your Car the Right Way: 10 Steps
Step 1: Choose the Right Time and Place
Park in a shaded area or work during early morning or late afternoon. Washing in direct sunlight causes the soap and rinse water to evaporate too quickly, leaving behind water spots and soapy residue. Temperature also matters: avoid washing when the surface is above 90 degrees Fahrenheit or if rain is expected within a few hours.
Step 2: Rinse the Entire Car First
Before any soap or mitt touches the surface, rinse the entire car from top to bottom with a garden hose or pressure washer. This loosens and removes loose dirt, bird droppings, and debris that would otherwise act like sandpaper when you begin scrubbing. If you own a pressure washer, keep the nozzle at least 12 inches from the paint and avoid direct jets at rubber seals or window trim.
Step 3: Clean the Wheels and Tires First
Wheels accumulate brake dust, road tar, and grime. If you clean them last, that spray and splatter lands on your freshly washed paint panels. Apply a dedicated wheel cleaner, let it dwell for 60 seconds, then agitate with your wheel brush. Rinse thoroughly before moving on to the body. For detailed guidance on wheel care chemistry, the NHTSA provides information on brake dust composition and why it is more corrosive than regular road dirt.
Step 4: Set Up Your Two-Bucket System
Fill one bucket with water and your car wash soap (follow the dilution ratio on the bottle). Fill the second bucket with plain, clean rinse water. Place a Grit Guard insert in the bottom of the rinse bucket if you have one. This simple grid traps the dirt at the bottom so it does not migrate back onto your mitt.
Step 5: Wash from Top to Bottom, One Panel at a Time
Dip your mitt into the soapy bucket, wash one panel, then rinse the mitt in the clean bucket before going back for more soap. Start at the roof, then move to the hood and trunk, then the doors, and finish with the lower rocker panels and bumpers. This top-down sequence ensures that the dirtiest sections (lower panels) are always saved for last.
Use straight, overlapping strokes rather than circular motions. Circles create swirl marks; straight lines are far safer for your paint.
Step 6: Pay Attention to High-Grime Zones
Door jambs, mirror bases, fuel door edges, and the area behind the wheels collect grime that most people miss entirely. Use a separate smaller microfiber cloth (not your main mitt) to get into these crevices. This is also where paint chips tend to originate if debris is left to accumulate and vibrate during driving.
Step 7: Rinse Thoroughly
Rinse the car from top to bottom again, ensuring no soap residue remains. Soap left on the surface will dry and bond to the paint, creating a hazy film. Pay special attention to areas like the grille, side mirrors, and window trim where suds tend to hide.
If you want to encourage sheeting action (water running off the surface in sheets rather than droplets), a quick rinse with minimal pressure after the initial rinse can help water flow off more efficiently before drying.
Step 8: Dry Immediately with Microfiber Towels
Do not let the car air dry. Air drying leaves mineral deposits and water spots, especially if your tap water is hard. According to the United States Geological Survey's data on hard water distribution, a significant portion of the American Southwest and Midwest has hard water that leaves calcium deposits on car surfaces.
Use large, plush microfiber drying towels. Lay them flat against the panel and drag gently rather than scrubbing back and forth. Use a second towel for the glass and windows to avoid leaving fiber lint on the windshield.
Step 9: Apply a Quick Detailer or Spray Wax
Once the car is dry, applying a spray detailer or quick wax adds a layer of protection and brings out the shine. Products like Meguiar's Quick Detailer or Griots Garage Speed Shine retail for around $12 to $20. This step is not required every wash, but doing it monthly extends the life of your paint's protective layer significantly.
Step 10: Clean the Windows Last
Glass cleaning is its own step for a reason. Auto glass cleaners (avoid ammonia-based household products like Windex on tinted windows) and a clean microfiber towel will remove any soap overspray or smudges from the wash. Clean the inside of the windows too, as interior glass accumulates off-gassing residue from dashboard plastics that creates a hazy film over time.
When to Consider a Professional Instead
Not everyone has the time, space, or inclination to wash their vehicle by hand every two weeks. That is entirely reasonable. A quality touchless option is an excellent choice when you want a quick clean that does not physically contact your paint at all, minimizing any risk of scratches from brushes or cloth media.
For deeper cleaning that goes beyond a standard wash, full service car detailing addresses everything from paint correction and clay bar treatment to interior shampoo and leather conditioning. It is the right call when your car has accumulated months of buildup or before a sale.
Drivers in Northern California can visit professional car care services backed by experienced technicians for locations including sacramento and folsom options that provide convenient full-service care for drivers in the region.
Wash Frequency and Paint Protection: A Quick Reference
| Vehicle Use / Condition | Recommended Wash Frequency | Notes |
| Daily commuter, urban environment | Every 1-2 weeks | Road grime and brake dust build quickly |
| Occasional driver, suburban/rural | Every 3-4 weeks | Less exposure but still needs regular cleaning |
| Post-road trip or beach visit | Immediately after | Salt, sand, and highway tar damage paint fast || Winter driving (salted roads) | Weekly or after each use | Road salt accelerates rust and paint degradation |
| Garage-kept show car | Every 2-4 weeks | Lower exposure, but dust and humidity still matter |
Things to Know
- Never use a pressure washer under 1,000 PSI or above 1,900 PSI on standard automotive paint; either extreme risks damage.
- Bird droppings are acidic and can eat through clear coat in as little as 48 hours if left untreated, especially in summer heat.
- Washing your car more than once a week without wax protection can strip the paint's natural oils faster than usual.
- The EPA recommends commercial car washes over driveway washing in many municipalities because they capture and treat runoff water, preventing soap and chemicals from entering storm drains.
- Microfiber towels should be washed in a separate laundry load, without fabric softener, to preserve their soft fiber structure.
- A clay bar treatment once or twice a year removes bonded contaminants that regular washing cannot lift.
Ready to Give Your Car the Treatment It Deserves?
Book a professional wash or detailing appointment this week with services that provide the same quality care as DIY methods but with expert efficiency, ensuring your paint receives the best protection available. Whether you prefer a hands-on DIY session following the 10 steps above or a professional service that handles everything for you, the most important thing is consistency. Your car's paint is an investment, and a regular, correct cleaning routine protects that investment every single time you hit the road.
Frequently Asked Questions
Q: How often should I wash my car to maintain the paint?
Every two weeks is the standard recommendation for most daily drivers. Washing more frequently is fine as long as you use the correct technique and products. Waiting longer than a month allows contaminants like road tar, bird droppings, and industrial fallout to bond to the clear coat.
Q: Is a pressure washer safe to use on car paint?
A pressure washer is safe when used at the correct distance and pressure setting, typically between 1,200 and 1,800 PSI with a 25-degree nozzle tip. Holding the nozzle too close or using a zero-degree tip can cut through clear coat and even primer. Always maintain at least 12 inches of distance from painted surfaces.
Q: What is the difference between car wash soap and dish soap?
Dish soap is formulated to strip grease and oils, which means it will remove your car's protective wax and sealant layers along with the dirt. Car wash soap is pH-balanced to clean effectively without degrading wax or paint protection. Using dish soap regularly will accelerate paint fading and oxidation.
Q: Can I wash my car in cold weather?
Yes, but you need to take extra precautions to prevent water from freezing in door seals, locks, and hinges. Use warm water where possible, work quickly, and dry thoroughly including the door jambs. Avoid washing when the temperature is below 34 degrees Fahrenheit, as rinse water can freeze on the paint surface before you dry it.
Q: Does washing frequency affect car resale value?
Yes, regular and correct washing directly supports higher resale value by maintaining paint clarity, preventing rust, and reducing the appearance of oxidation. According to Kelley Blue Book's guidance on vehicle condition ratings, paint condition is one of the primary visual factors that buyers and appraisers assess when determining a used car's market value.
The Bottom Line on Wash Your Car the Right Way
Following these 10 steps consistently puts you ahead of the overwhelming majority of car owners who either skip washing entirely or wash incorrectly and cause unintentional damage. The process takes about 45 minutes with proper equipment and rewards you with a vehicle that looks better, lasts longer, and holds its value in the resale market.
Start with your next wash this weekend. Gather your two buckets, pick up a quality microfiber mitt, and commit to the top-to-bottom sequence. If you would rather leave it to the professionals, explore options for paint-safe washing methods that deliver the same high-quality results you would achieve through meticulous hand washing.